Superflat® Concrete
3D Scanning
Better on-site data means better construction quality management.
Why Superflat® for 3D Scanning?
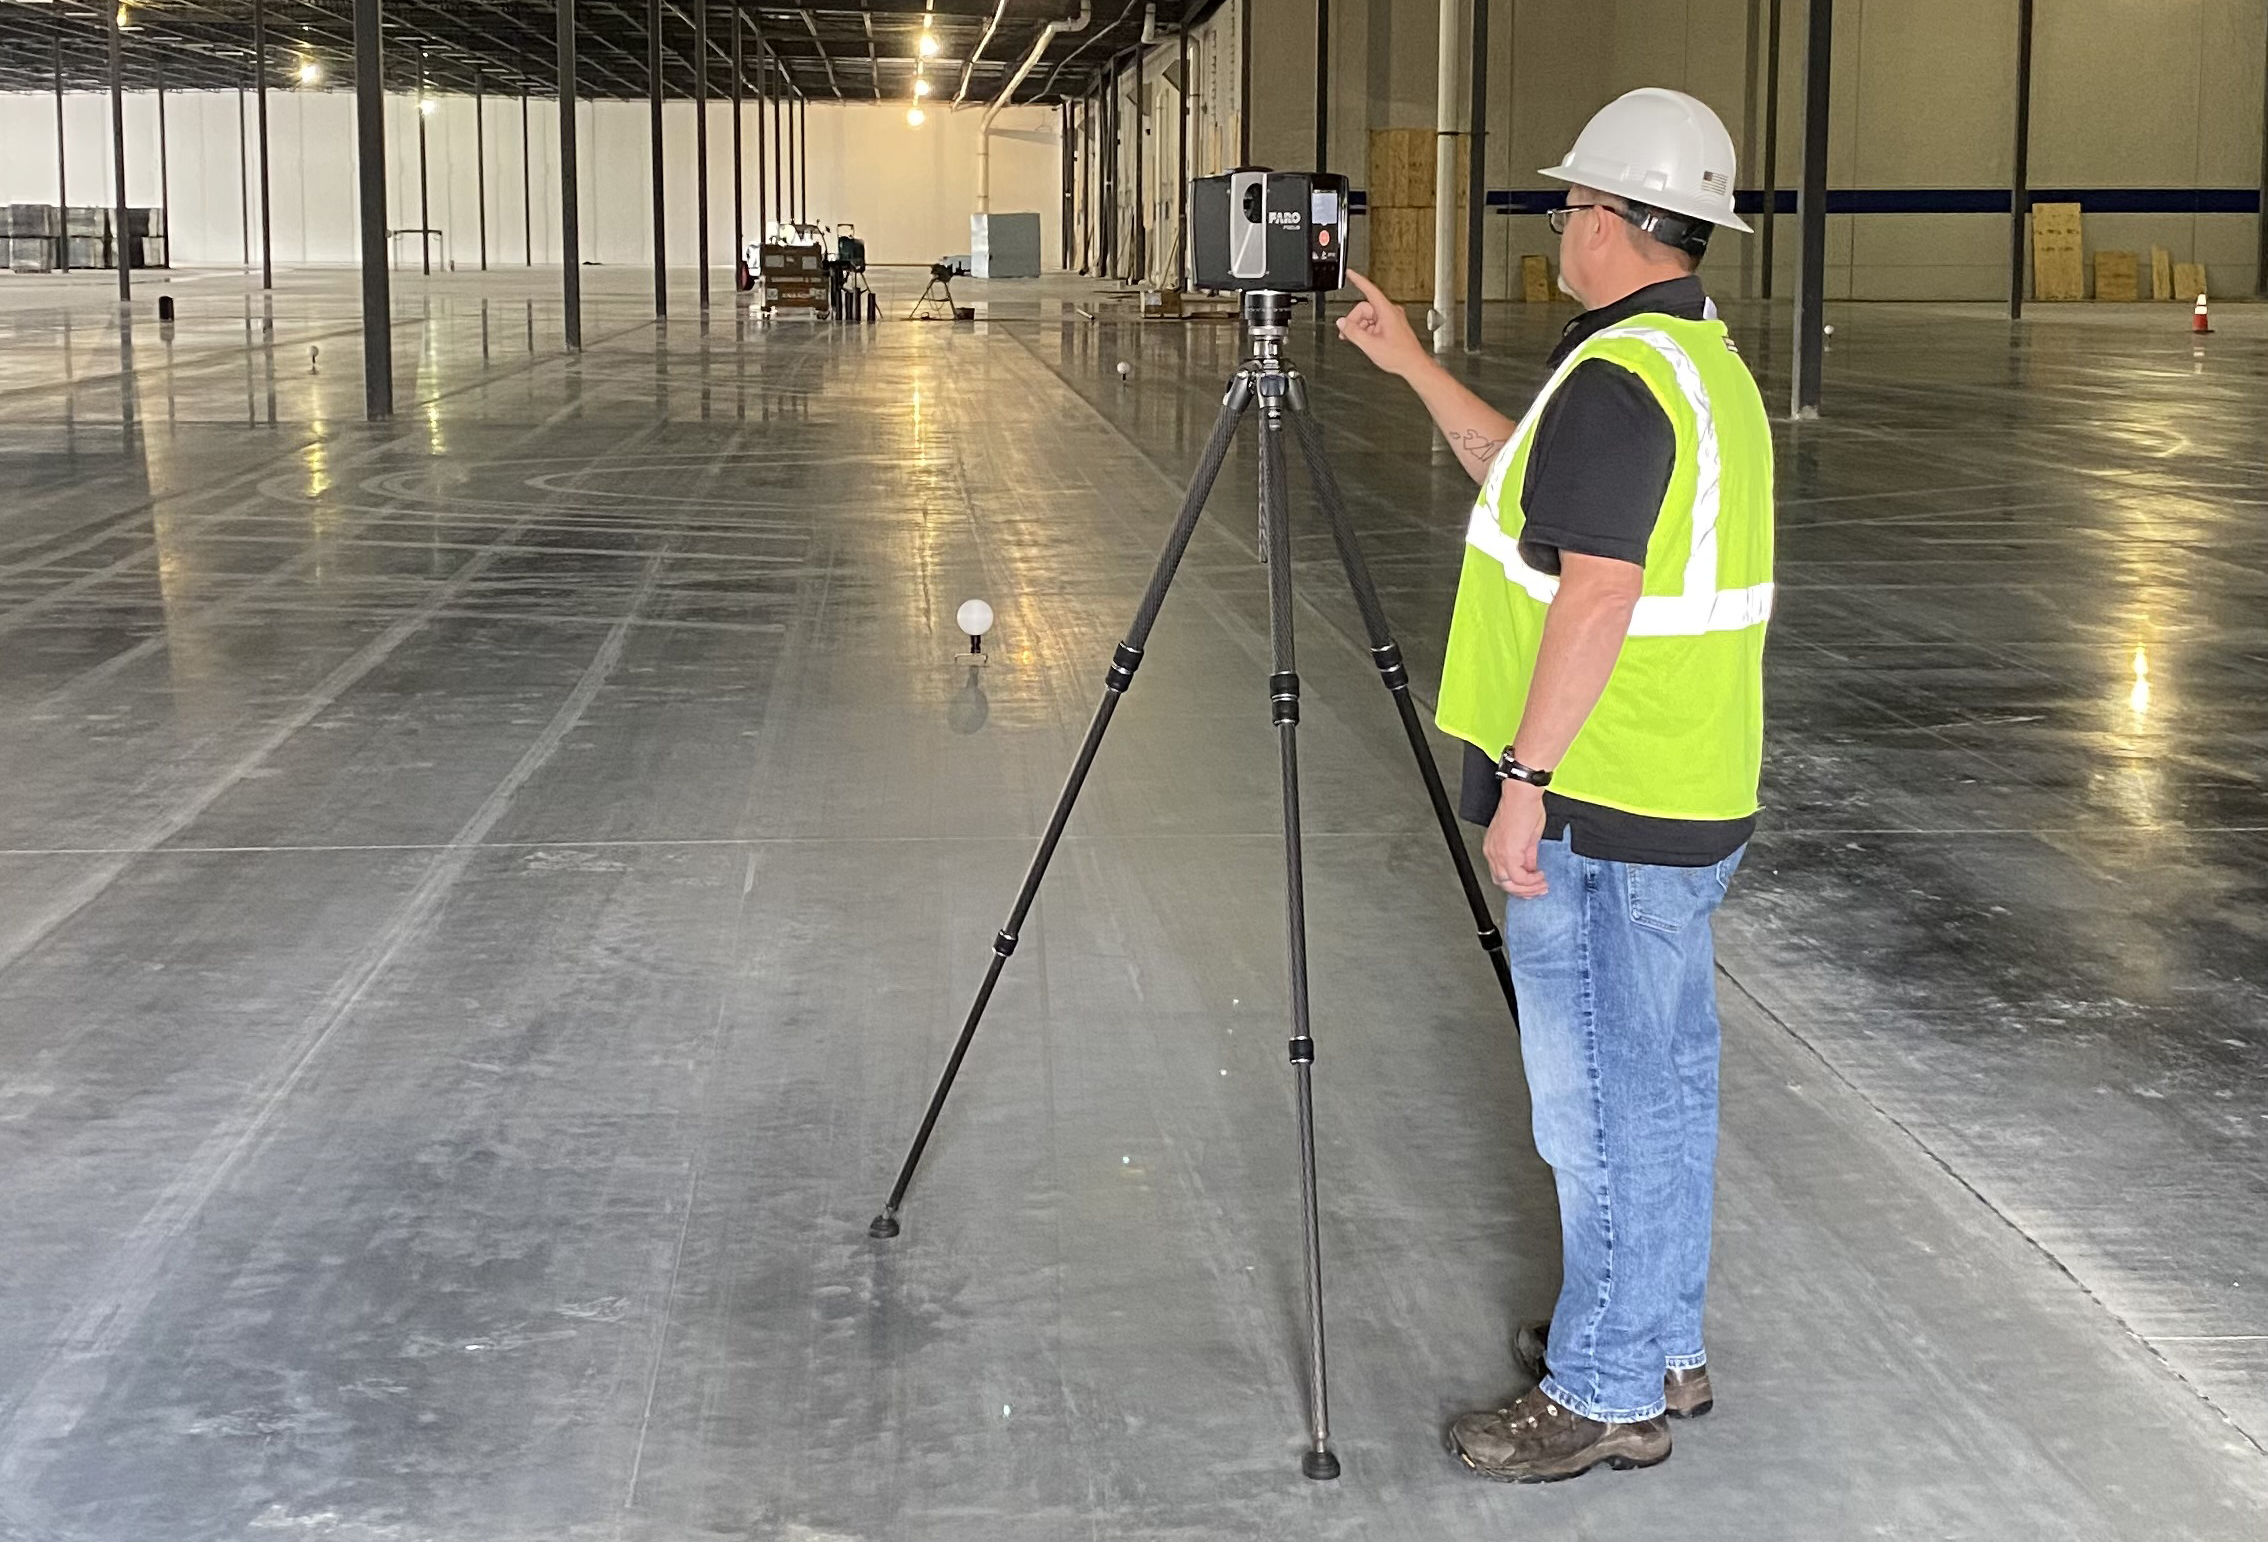
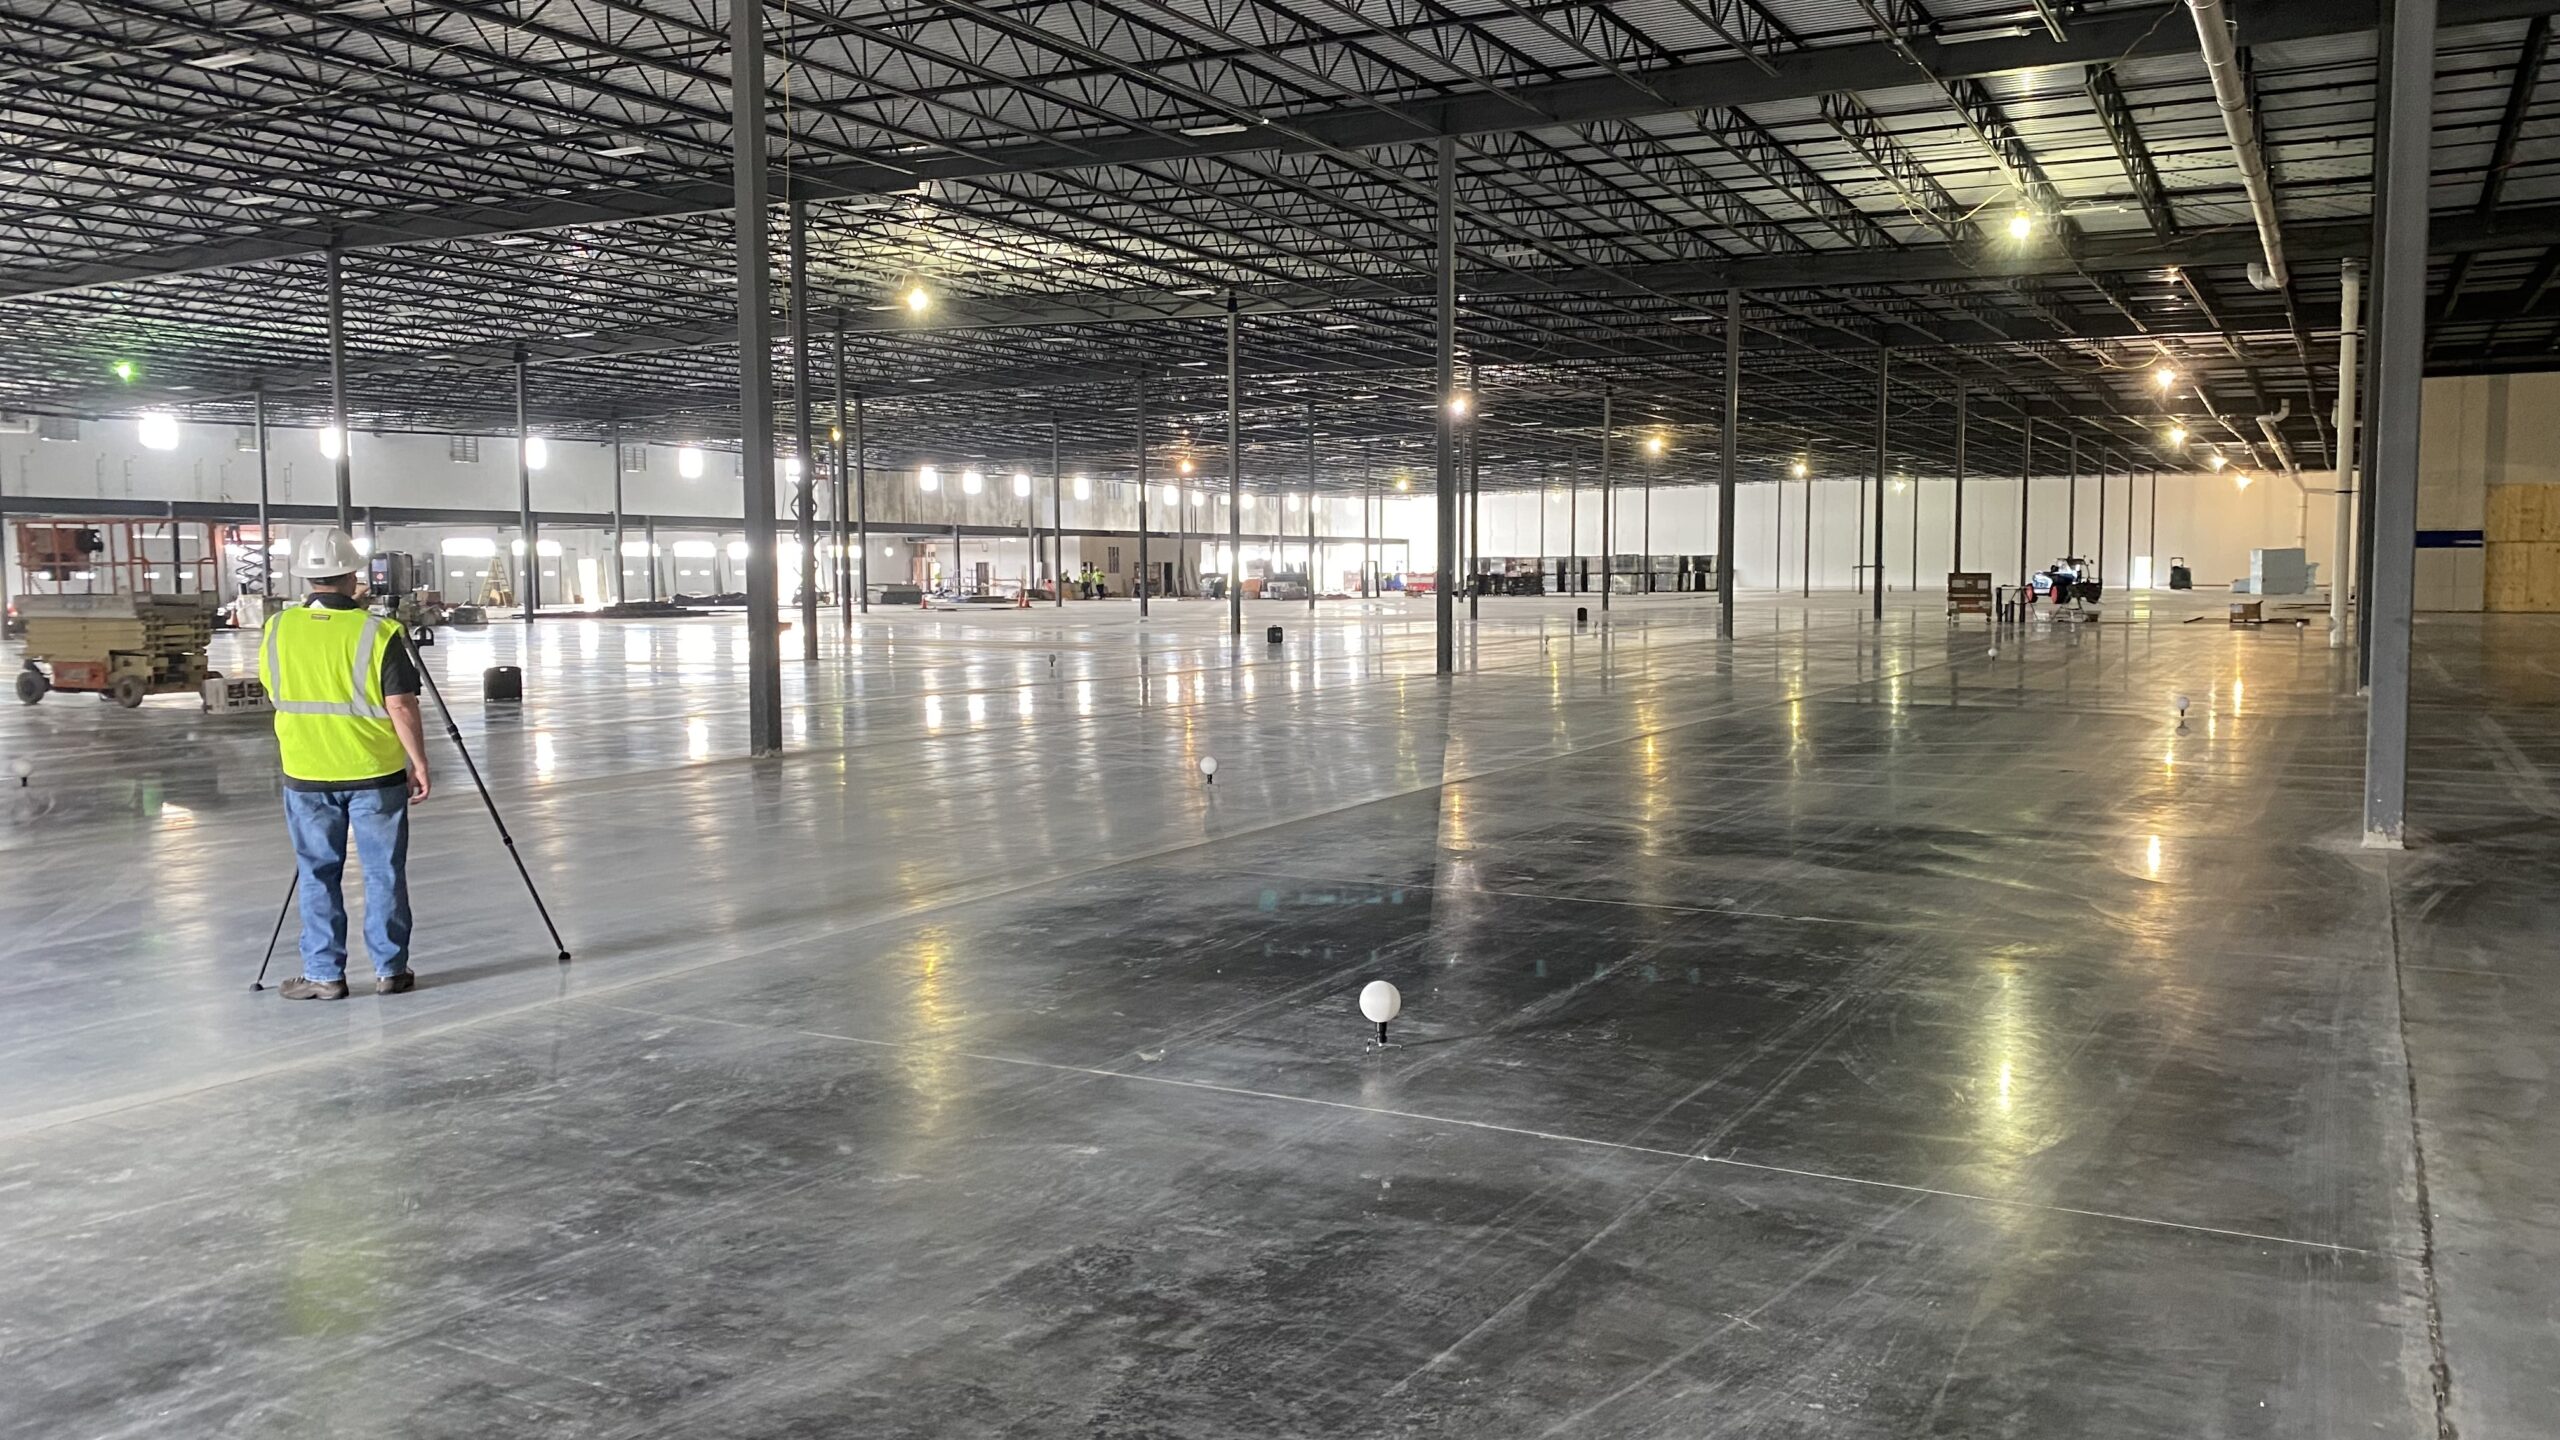
Accurate measurements at the highest level are critical for proper design, production, and quality control. Superflat® Concrete’s 3D Laser Scanning provides the superior accuracy you need for complex surface flatness analysis. Utilizing Superflat® for your 3D scanning needs will yield fewer issues during build/remodel, provide precise data, save time, reduce rework, minimize risk, and reduce liability.
Our 3D scanning provides extremely accurate measurements and the ability to fully utilize, visualize and modify data with CAD. The ability to rapidly capture high-accuracy information means vast savings in productivity and time. You can expect measurements that are correct the first time, so that less work is needed to complete subsequent steps in design and production in the future.
Capturing the measurements of a large facility with conventional documentation methods can take days or weeks, and even then, the data might contain errors or missing details. But our 3D scanning equipment is the best on the market, creating accurate, complete and photorealistic 3D representations of any environment.
Once captured, your 3D data can be used for quality control during excavation planning; precise positioning of concrete, columns and other components; surface flatness analysis; and health and safety compliance. You can access the same reliable data for close collaboration, further reducing the risk of errors and rework. Finally, updating the design data with scanned site information ensures that the final handover documentation meets today’s rigorous accuracy requirements — and results in a building that both owners and tenants feel good about.

Why do I need 3D Scanning?
3D scanning can provide the customer with extremely accurate measurements. It also provides the customer with the ability to utilize, visualize and modify data with nearly any CAD software program.
What are the benefits of 3D scanning?
Fast and very accurate (between 0.01mm to 0.1mm) to measuring millions of points in a single pass. Other measuring technologies, such as CMM, hand tools, and traditional surveying devices, only measure one data point at a time, making them tedious and time-consuming. 3D Scans are Accurate, Non-Contact and cause zero damage, safe to use around people in the workplace, Cost-Effective and efficient, and modern scanners work in line of site under ambient light or even in the dark.
Are 3D scans helpful to measure floor flatness and floor level?
Yes, 3D scan measure millions of points on the floor to give a complete picture of the entire visible surface. This digital data can then be run thru software to create three-dimensional heat maps (high and low spots) as well as true measurements of a floors Ff/Fl.
How much does it cost for 3D Scanning?
On-site laser scanning is usually priced by the day and varies depending on the complexity of the job (number of scans required). The cost is primarily based by how large the area is that you are scanning, but also balanced with the level of detail needed. After the laser scan is complete, the technician must transfer the scans to a computer workstation and complete registration, alignment and optimization. Once complete, work continues on Heat Mapping and Ff/Fl measurements in the specific project area to drive the final report. Finally, travel costs are also part of the overall consideration and can vary based on time and distance. Please reach out to us directly for a review of your project needs and quote.

